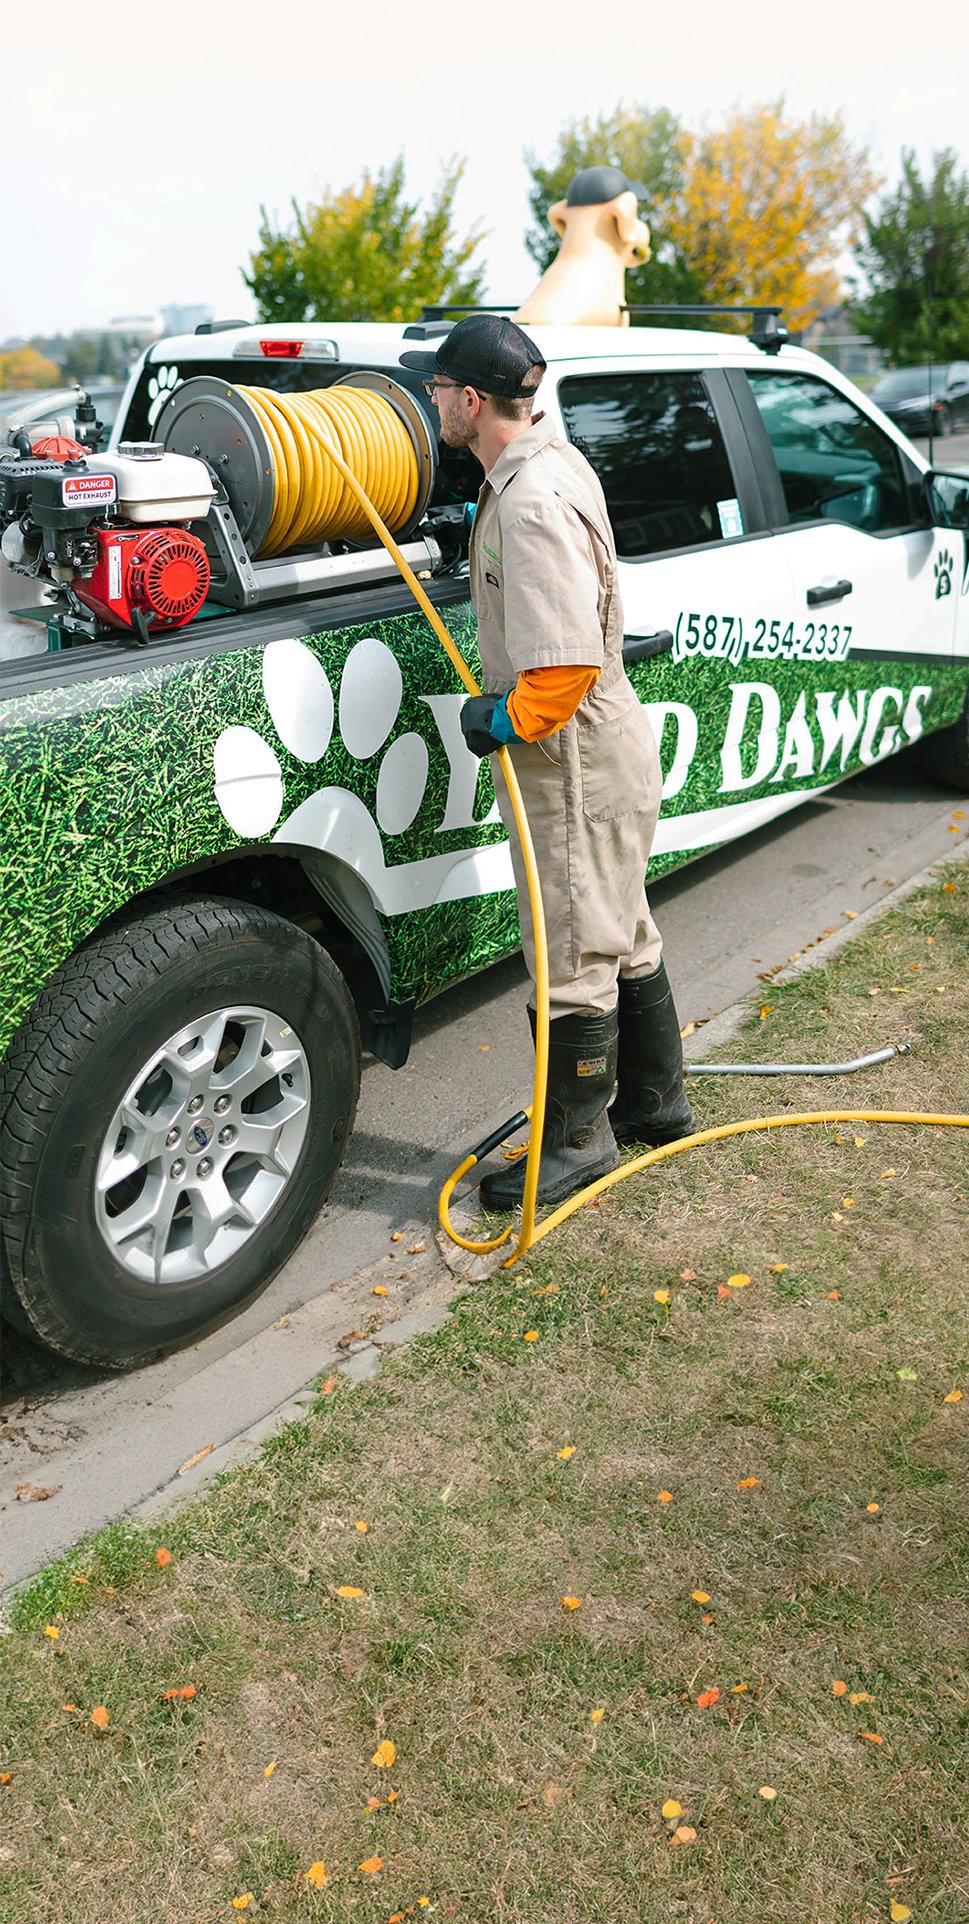


Curb Appeal
%20(7).png?width=1000&name=Blog%20(1000%20%C3%97%20500%20px)%20(7).png)
Your landscaping prowess has just begun, and you’re wondering how to maximize your home’s outdoor attributes. It doesn’t have to be a daunting prospect, transforming your yard can be completed without tearing up your property or breaking the bank. The National Association of Realtors quoted a study, “homes with high curb appeal tend to sell for an average of 7% more than similar houses with an uninviting exterior, according to a joint study by the University of Alabama and the University of Texas at Arlington.” The study was published in the Journal of Real Estate Finance and Economics, and it goes further, “the premium rises to as high as 14% in slower real estate markets with greater housing inventory.”
So, we’ve established the value of curb appeal, but how is it achievable on a budget? There are dozens of small improvements you can add that will give your house a more finished look. Maybe you’re already quite pleased with the outdoor landscape surrounding your home but guaranteed there are some small improvements you may not have considered.
- Paint Your Front Door: Adding a bold colour to your door will brighten up your home and make it stand out
%20(2).png?width=1000&name=Blog%20(1000%20%C3%97%20500%20px)%20(2).png)
- Plant Next to Your Home: Plants should embrace your home rather than cover it. Shrubs planted around the corners of your house will soften the box-like structure. Flowers add instant charm to any space.
- Don’t Neglect the Sides: The side of a home is very often neglected. The narrow strips along the house are not often seen. However, although many homeowners choose to tuck away unattractive objects (i.e., garbage cans, firewood, etc.), this can be accomplished in an attractive manner. A wooden shed can be the home to your garbage cans rather than leaving them leaning against your garage or whatever the case may be.
- Install Window Boxes: They are very cheap, and an easy DIY project on a weekend that will add instant charm to your home. Get creative with it! These boxes can be any shape colour and be home to a variety of different plants. Just be sure to maintain the health of the flowers you choose to plant.
Hardscaping
Hardscaping your front or backyard is something that shouldn’t be left to the last. This work will require construction which will compact the soil and damage what’s already been planted. That being said, it’s best to complete your hardscaping projects first. Hardscaping is used to provide structure to your landscaping design. Although it may require expertise when installing, the maintenance required afterwards is minimal.
Barkman is a Canadian landscape supplier. Their website is a plethora of landscaping resources, guides, products, and ideas. If you want to get creative with your backyard space, then take advantage of what Barkman has to offer. Within their landscape gallery, they have design inspiration for driveways, patios, edges, pillars, firepits, pool decks, outdoor kitchens, paths, and garden walls.
.png?width=1000&name=Blog%20(1000%20%C3%97%20500%20px).png)
If you prefer the DIY route, Barkman supplies a “Quarry Stone” which is light enough to lift yourself and comes in 2 different textures. A guide beside the quarry stone demonstrates how-to build certain features with the stone. The DIY series of the Barkman website includes Bridgewood and Rosetta Stone guides.
Planting
%20(6).png?width=1000&name=Blog%20(1000%20%C3%97%20500%20px)%20(6).png)
Sunlight hits different parts of the backyard depending on where you live, how your house is situated, etc. This means you have to put special thought into what plants should go where. As well, you should know the ultimate size of a plant before you put it in the ground. Depending on how big it grows and where you put it, you risk killing the plant or damaging parts of your property. When it’s time to put the plants into the ground, add organic matter to your soil. Clearly define your turf and garden bed lines. Install shrubs and plants around the perimeter of your yard. This will spruce up your backyard space and add privacy.
.png?width=730&name=Call%20To%20Action%20(22).png)
"A penny for the plant and a pound for the hole." That's how some old adage goes. Essentially it means planting begins by preparing your soil. Adding mulch and compost in the spring before planting begins and removing the weeds. If you want to reap the rewards later, put effort into laying the best foundation for your plants. Once you've completed the preparation you'll need to plan where your plants would grow best. know the ultimate size they'll be at full growth. As well, different areas of your yard will receive different amounts of sunlight so know which plants thrive under direct sunlight, shade conditions and such.
The Almanac has an excellent planting calendar you can use to determine when you should begin planting based on what vegetables you're planning on planting. If it's flowers, you're looking to plant, the Almanac has another fantastic planting guide.
Backyard
In the yard, where you’ll be hosting or watching your children play, you’ll want the space to be functional but attractive. Consider updating what fencing you have, add a deck or patio. If you’re a night owl, add a fireplace with hardscaping to allow for backyard entertaining late into the night. As an HGTV fan, I’ve linked one of their pages: “55 Gorgeous Fire Pit Ideas and DIYs”. These include:
- Concrete Fire Bowls
- Washer Drum Fire Pit
- Brick and Rocks
- In-ground Fire Pit
- Tabletop Firelight
- And more!
%20(5).png?width=1000&name=Blog%20(1000%20%C3%97%20500%20px)%20(5).png)
By creating a firepit, as with most hardscaping projects, you’re giving your yard a focal point.
Finishing Touches
After completing the large projects, planting your garden, and finishing the paving in your yard, it’s time to move onto the final details. Add hanging baskets, window boxes, garden art, birdhouses, etc. to your outdoor space. It’s not only adding a layer of attraction, but it could, perhaps, be a project for your children. There are some fun DIY birdhouses and window boxes that can be created in an afternoon. After making an afternoon of it, now teach them to follow flower watering instructions, weeding and other maintenance. Now you’ve created a summer long family project!
%20(3).png?width=1000&name=Blog%20(1000%20%C3%97%20500%20px)%20(3).png)
Maintenance
The final step in your landscaping puzzle is continued maintenance. You’ve now updated your landscape in little ways, but the essential part of any landscaping is the care that comes after. Your lawn, flowers, and shrubs need watering. Grass needs mowing, fertilizer, and weed control. Your fences, decks, and patios need painting. All these tasks need to be performed regularly, at different times of the year and at different intervals.
In the spring to complete your outdoor maintenance list of to dos you’ll want to perform repairs on equipment for use throughout the summer, such as your lawn mower. During the spring as well, you’ll also want to remove any debris that built up over the winter, this will include a light hand rake to get rid of thatch build up. Keep in mind, a light hand rake is actually good for your grass. If you rake too hard you risk doing more harm than good. During the summer it’s important you consistently water and mow your lawn. You’ll also need to keep up on trimming hedges, refinish your decks and patios, and pressure washing your outdoor surfaces.
In the fall you’ll want to continue the upkeep but also begin preparing your lawn and garden for the winter. Aeration during this season is very beneficial for your grass. You’ll want to make sure you’re raking up all your leaves as well. This will diminish the thatch layer in your lawn come spring.